Back in 2017, Apple introduced a new default photo format for the iPhone, HEIC. This highly efficient format, which stands for High Efficiency Image Container, supports features like Live Photos and Apple’s advanced image post-processing, while taking up less space than traditional JPG files. Despite these advantages, HEIC can be problematic when you need to upload photos to online forms or open them on non-Apple devices, such as Windows PCs.
Here are several methods to manage and convert HEIC images to the more universally compatible JPG format:
Change Your iPhone’s Default Photo Format
If you prefer not to deal with HEIC at all, you can change the default photo format on your iPhone to JPG. Navigate to Settings > Camera > Formats and select Most Compatible. This ensures all new photos are saved in the JPG format, making them easier to share and use across different platforms.
For a more flexible approach, go to Settings > Photos > Transfer to Mac or PC and choose the Automatic option. This setting automatically converts HEIC photos to JPG when transferring to a Mac or PC, while keeping them as HEIC on your iPhone to save storage space.
Use the Finder Feature on macOS to Convert HEIC to JPG
For Mac users running macOS Monterey or later, converting HEIC images is simple with the built-in Finder tool. Select your HEIC photos, right-click, and choose Quick Actions > Convert Image. Then, select JPEG and click Convert to JPEG.
If you’re using an older version of macOS, the Preview app offers a manual conversion method. Open the image in Preview, go to File > Export, choose JPEG from the format options, and save the converted file.
Convert HEIC to JPG on Your iPhone Using the Files App
A quick method to convert HEIC images on your iPhone involves the Files app. Open the Photos app, select the photos you wish to convert, tap the Share icon, and choose Copy Photos. Then, open the Files app, select On My iPhone, create a new folder, and paste the photos. The copied images will be saved as JPGs, which you can then share or save back to the Photos app.
Use Trusted Apps Like Documents by Readdle
While many HEIC to JPG converter apps are available on the App Store, they often require subscriptions and may not be entirely secure. A reliable alternative is the Documents by Readdle app. It includes a built-in photo library that automatically converts HEIC images to JPG. Simply open the app, navigate to Photo Albums, select an image, and use the Share button to send the converted JPG file.
Open HEIC Images in the Windows Photos App
To view HEIC images on Windows, download the HEIF Image Extensions (free) and HEVC Video Extensions ($0.99) from the Microsoft Store. Once installed, you can open HEIC files in the Photos app and convert them to JPG if needed.
Convert HEIC to JPG on Windows with CopyTrans
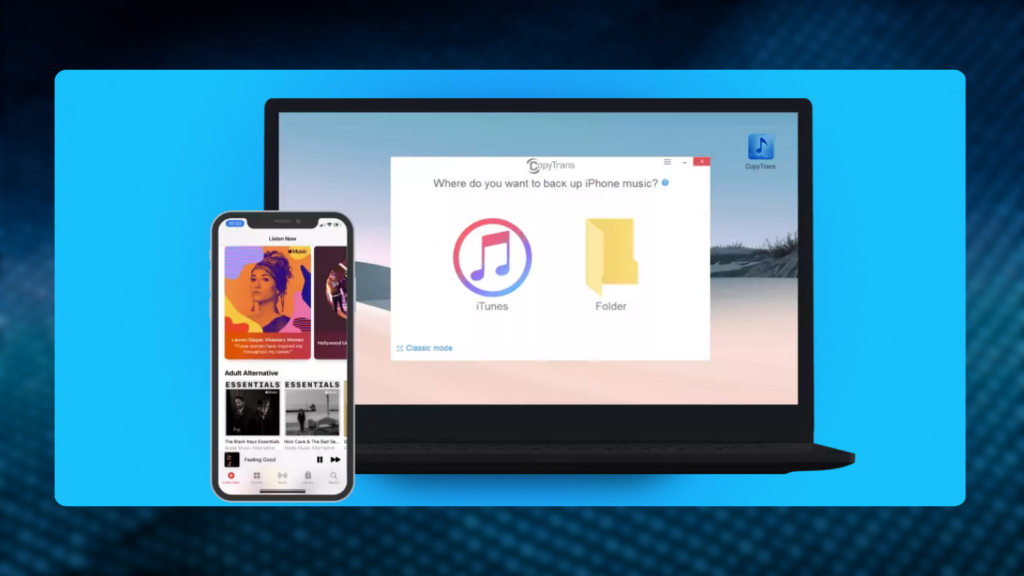
For Windows users, CopyTrans HEIC for Windows is a free tool that integrates with File Explorer. After installation, right-click on any HEIC file and select Convert to JPEG with CopyTrans to create a JPG version of the image in the same folder.
Use Online Converters for Quick Conversions
If you need a quick and easy solution without installing apps, online converters like CloudConvert are ideal. Simply upload your HEIC photos, hit the Convert button, and download the resulting JPG files.
Additional Tips
- Batch Conversion: For handling large numbers of HEIC files, consider using dedicated software like iMazing HEIC Converter on both Mac and Windows, which supports batch conversions.
- Cloud Storage Solutions: Services like Google Photos and Dropbox can automatically convert HEIC images to JPG when you upload them, simplifying the process of sharing and storing your photos.
By following these methods, you can effectively manage and convert HEIC images to ensure compatibility across all your devices and platforms.

Subtly charming pop culture geek. Amateur analyst. Freelance tv buff. Coffee lover
