
The beauty of cloud-based devices like Chromebooks is their simplicity and ease of use, offering a clean and straightforward interface that connects you seamlessly to the web. Unlike Windows or macOS, ChromeOS is designed to be lightweight, without the burden of excessive software and settings. However, you still have plenty of options to personalize your Chromebook to suit your preferences, from visual tweaks to productivity enhancements. This guide will show you how to make your Chromebook truly yours.

Changing Wallpapers and Themes on Your Chromebook
One of the easiest ways to personalize your Chromebook is by changing the desktop wallpaper. To do this, right-click on a blank area of the desktop (use two fingers on the touchpad) and select “Set wallpaper and style” from the menu. You can choose an image from your Google Drive, select a solid color, or, if you have a Chromebook Plus, use generative AI to create a unique wallpaper.
To customize the Chrome browser theme, click the three vertical dots in the upper right corner of any browser window and go to Settings > Appearance > Themes. Here, you can select from various themes that change the color scheme of your browser, including menus, toolbars, and tabs.
Pinning Frequently Used Apps in ChromeOS
Keeping your most-used apps within easy reach can significantly enhance your productivity. To pin an app to the ChromeOS shelf, open the app, then right-click (two-finger click on the touchpad) its icon in the shelf and select “Pin.” This keeps the app on your shelf, even when it’s closed.
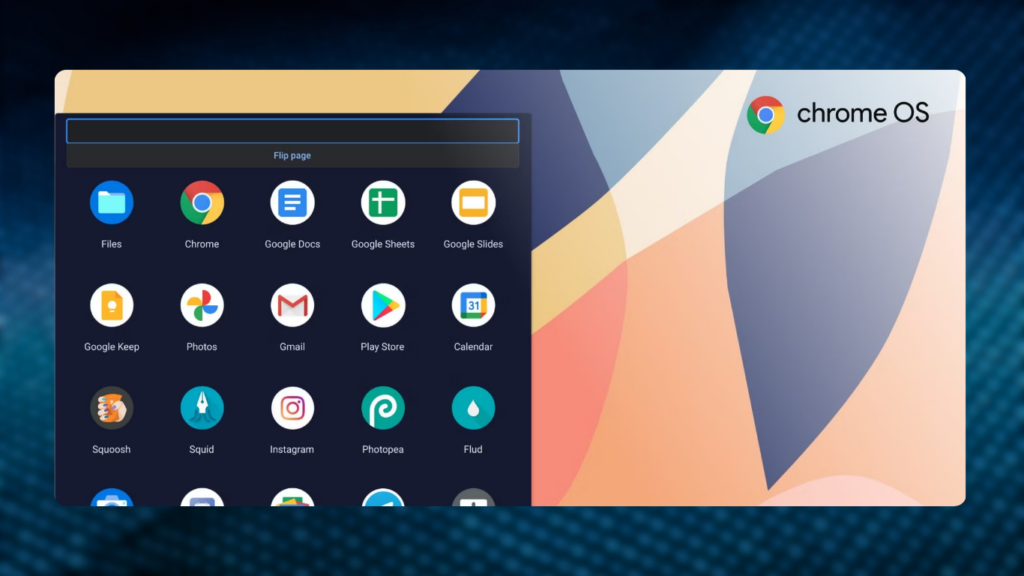
In the app drawer, which opens when you click the Launcher button on the left of the shelf, you can rearrange apps by dragging their icons. Place your most-used apps at the top for quick access, and create folders by dragging one app icon on top of another.
You can also change the position of the taskbar (shelf) by right-clicking on it and selecting “Shelf position.” Choose to move it to the left or right side of the screen, or keep it at the bottom. Additionally, you can enable the “Autohide shelf” option to hide the taskbar when it’s not in use.
Customizing Touchpad and Keyboard Settings
Since you’ll spend a lot of time using the touchpad and keyboard, it’s essential to customize them to your liking. Click the time widget in the bottom right corner, then the gear icon to open Settings. Under the Device menu, you’ll find options for the Touchpad and Keyboard.
In the Touchpad settings, you can reverse the scrolling direction and adjust the pointer speed. You can also change how a right-click is registered if you find the default two-finger click awkward.
In the Keyboard settings, you can set the top row of keys to function as standard function keys, remap special keys like Ctrl and Alt, and adjust the keyboard repeat rate.
Additional ChromeOS Customizations
There are several other customization options available in ChromeOS. Here are a few:
- Search and Assistant: Change your default search engine and manage Google Assistant settings.
- Security and Privacy: Adjust lock screen settings, such as automatically locking the Chromebook when the lid is closed.
- Apps: Reopen apps that were open when you last shut down your Chromebook.
- Notifications: Manage which apps can show notifications and how they are displayed.
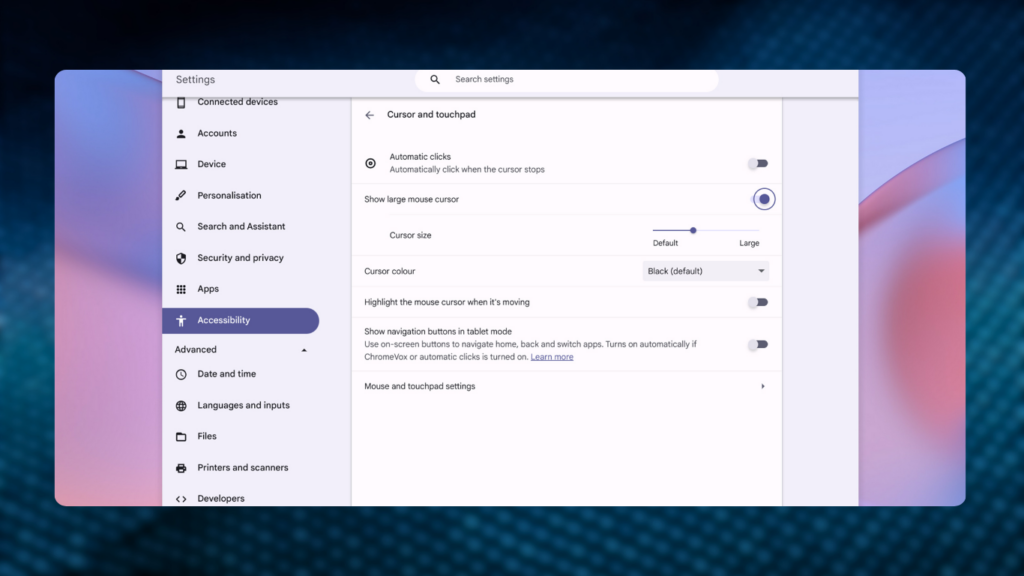
- Accessibility: Modify the color and zoom level of the screen, enable an on-screen keyboard, and change the size and color of the cursor.
- Date and Time: Switch between 12-hour and 24-hour clock formats.
By spending a little time exploring and adjusting these settings, you can transform your Chromebook into a personalized and efficient tool that caters to your specific needs.

Subtly charming pop culture geek. Amateur analyst. Freelance tv buff. Coffee lover